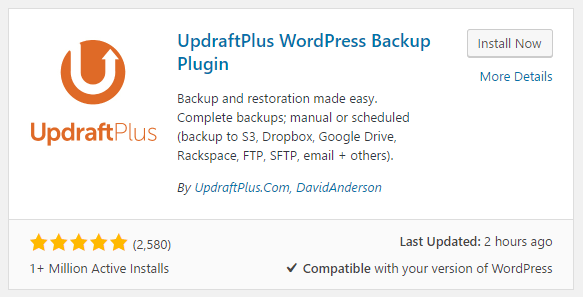
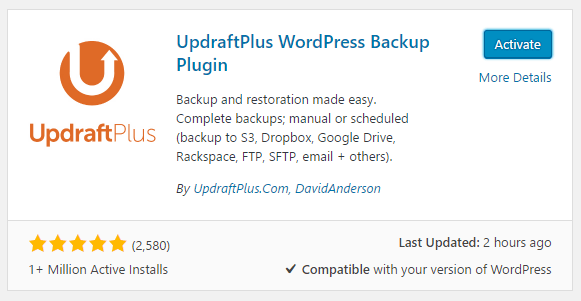
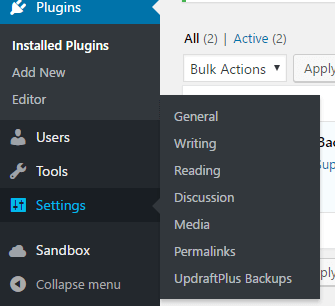
 A well designed and content-rich website is usually the result of brainstorming, hard work, development and dedication. Nothing, therefore, is more disappointing and frustrating than to lose absolutely everything due to a personal faux pas for example when handling the files in FTP incorrectly, a wrong database command or getting hacked. There is sometimes no other option left than to restore everything from a backup to get back to normal. Backups are nothing but a hassle and cost time but they can be automated. One backup plugin solves this quite nicely. The text below describes the process how to setup UpdraftPlus to backup your WordPress Website to Dropbox so you no longer need to take care of it.
If you are looking for ways to secure your WordPress Site check out this post.


 NOTE: The frequency you set is at your discretion, however, there are a few things to consider here. If your website is constantly being updated on a regular basis (for example an e-commerce website where products are being added), it is best to select a timeframe that is under a day.


 Click on the link in the prompt to continue to Dropbox access authorization.
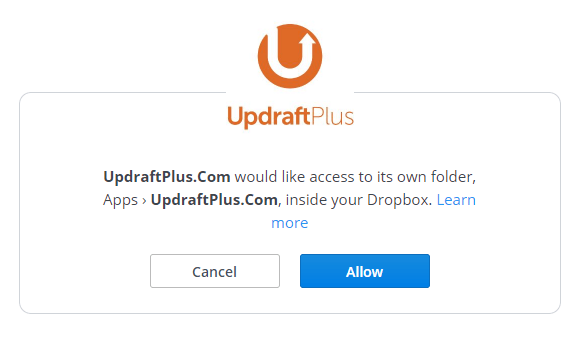 Click on the Allow button to proceed with authorization and grant Dropbox access to UpdraftPlus.
 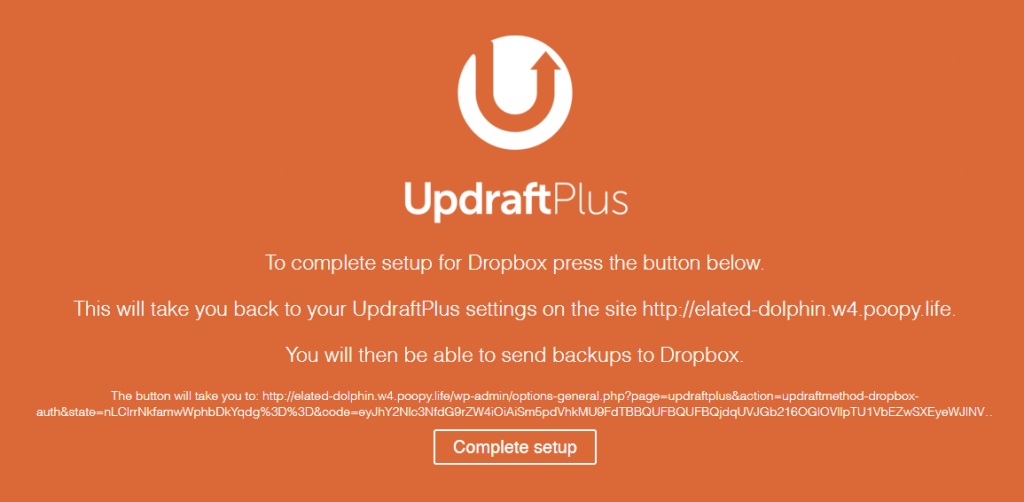 Click on Complete setup to proceed. This will authorise Dropbox access and take you back to the plugin settings page.